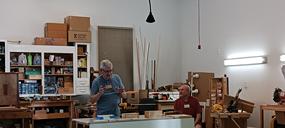
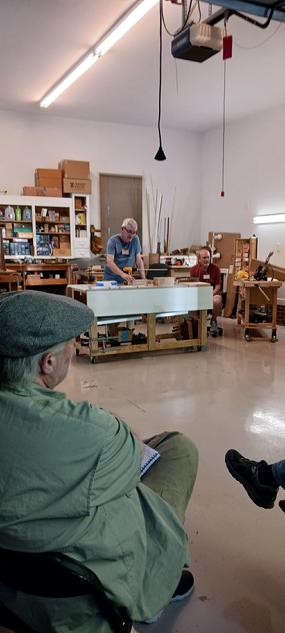
The May Woodworkers meeting was held May 5th at the shop of Scotty Shipp and co-hosted by Dave Ringering. The subject was making wooden hinge boxes. Scotty explained the concept and that he followed many of the tips from Rob Cosman. Rob often makes his boxes with either dovetail corners or finger joints. The box displayed used mitered corners which Dave explained and through trail and error was able to get the corners nearly perfect. Dave took the time to show how using one length of board cut into 4 sections could produce matching grain on three sides, but to obtain matching grain all around would require book matching.
Once the sections were cut he laid them out in order and secured them with blue tape. Scotty then used a router table to cut a grove near the bottom and a rabbet at the top of each piece. ¼” ply was used for the bottom and ¼” ply with walnut veneer on both faces was use for the top. Before assembling the box, the inside faces were sanded and finish applied. After dry fitting to ensure everything came together correctly, glue was applied in the miters, and the segments were folded up around the top and bottom. More tape was applied to last corner and then clamps were applied.
After ample drying time, Dave cut the box apart with his band saw. Next the cut edges were sanded so the top and bottom fit exactly.
The real key to this project is making the dowel to serve as a hinge. A small 5/16” strip was cut from the board that was used (clear pine ½” x 36”). The strip was ripped to make a square strip 5/16x5/16. One end was “sharpened” with a pencil sharpener and the other end was chucked into a drill. The strip was then run through a homemade dowel maker to create a ¼” dowel. Using a ¼” core box bit on a router table made just for this process, a rounded grove was cut on the bottom back of the top, and on the top back edge of the bottom. The dowel was fitted into the groove and the top and bottom were clamped together. The dowel was then marked into five equal pieces (larger boxes might need more segments, but always an odd number.) And the dowel diameter should be approximately 1/2 the thickness of the board size being used. With the dowel captured in the box grooves, the dowel was rotated to give the best grain match to the box. A line was drawn down the dowel so that the segments, once cut, could be reassembled to match. Using another jig, the dowel was then cut into equal segments, and numbered 1-5. Tic marks were made on the top and bottom where the dowel lay and these helped identify where glue and wax were to be applied. 3 segments would be glued to the bottom and 2 to the top. Using a jig from Rob Cosman, each segment had a perfectly centered hole drilled about 1/2” into each segment, with the outer ones only getting a hole on inside and the three segments in the middle getting a hole on both ends. The segments were then joined with a pin (also sourced from Cosman) and cut to fit. The segments were reassembled keeping the numbers in order and the line matched up.
Tape was applied in each space where glue was to go, and wax was applied to the uncovered areas. After removing the tape, glue was applied to unwaxed areas, the dowel was placed back in the groove on the bottom and the top was fitted onto the box. Clamps were applied and fingers were crossed in expectation that the box would open once the glue dried.
IT OPENED, whew! Using a block plane, the protruding part of the dowel on the back was planed flush, the ends of the dowel were cut with a flush cut saw, and all surfaces were sanded to 220, finish and top coat applied. DONE!
If anyone is interested making your own wood hinge box, I would highly recommend spending some time on You Tube. There are several videos with excellent step by step instructions.
Below are some pictures from the meeting: